Hand Crank Van de Graaff Generator

  • Located in L01, section A2
  • Van de Graaff generator that works by hand crank, so students can see the mechanism that charges the dome.
  • Turning the crank moves the belt, which has charges stripped as it moves and thus develops a net charge. Charges spread out on the dome as a result of its proximity to the charged belt.
  • Use the wand to demonstrate arcing and to ground the dome.

Wimshurst Generator

Wimshurst Generator Demo Picture

  • Hand-cranked charge separator. Generate large sparks for
    entertainment or for use in various electrostatic experiments.
  • Use generator to charge capacitor plates or Leyden Jar.
  • Dip conductive pith ball in between parallel plate capacitor
    hooked to W-generator; crank W-generator; pith ball bounces back and forth
    between plates.
  • Located in L01; section A2, covered in plastic bag.

Van de Graaff Generator


Van de Graaff Generator Demo Picture

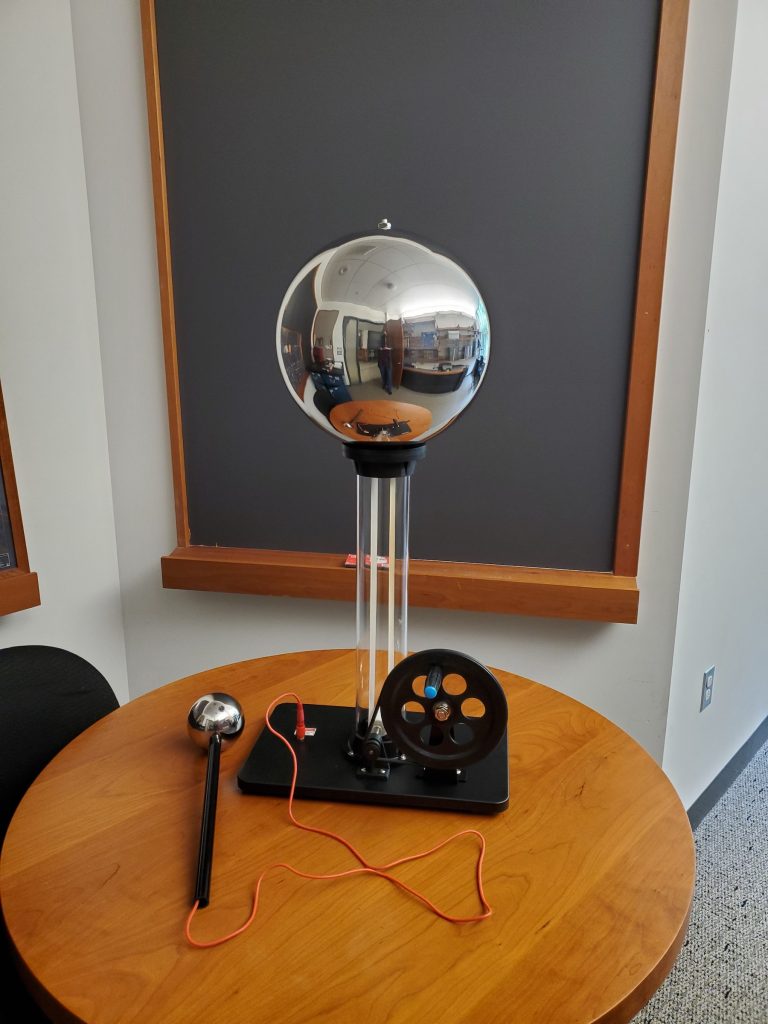
  • Principle: Static electricity is cool.
  • Located in L01, section A2
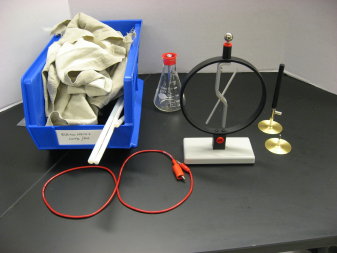
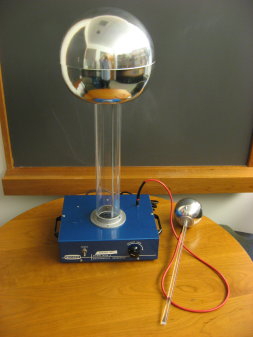
  • Van de Graaf accessories are located beneath Van de Graaff
    generator in plastic containers.

Some ideas for experiments beyond the typical shock-myself-and-my-students:

  • Bend a paper clip into an L shape and tape it to the charged sphere to create
    an ion gun; point the paper clip at the palm of your hand to feel the “ion
    wind”. Point the paper clip at your shirt to charge your shirt up- after
    30 seconds shirt should begin sticking to your chest.
  • Place a cup of styrofoam peanuts, or a stack of styro or aluminum plates
    on top of the sphere, turn on generator and watch stuff fly.
  • Dim the room lights, touch one end of a fluorescent bulb to the charged
    sphere and the other end of the bulb to the small discharging sphere. Bulb
    will flicker.
  • Using a squirt gun shoot a stream of water past the charged sphere; water
    should ionize and stream will disperse.

Additional Van de Graaff demo ideas


Electrophorus


Electrophorus demo picture

  • Charge the plastic electrophorus plate negative by rubbing it with fur. Placing the metallic plate on top of the plastic plate and connecting it to a grounding wire will give the metallic plate a positive charge by induction.
    Existence of these charges can be verified using the electroscope. The plastic
    plate should retain its negative charge long enough for demonstrator to charge metal plate several times.

Location

  • Electrophorus demo: L01, section A2, top shelf.
  • Electroscope: L01, section A2.


Charge on Conductor


Charge on Conductor demo picture

Charge on Conductor demo picture 2

  • Use rod and fur to charge conductors. To
    determine charge distribution on conductors use wand and electroscope, or
    proof plane and Faraday Ice Pail (right) with electrometer.
  • According to theory, no charge should reside
    on the inner side of a hollow conductor.

Location

  • Conductors: L01, section B1.
  • Rod and fur: L01, section A2.
  • Wand and proof plane: L01, section A2, plastic
    bin.
  • Faraday Ice Pail: L01, A2.
  • Electrometer: L01, A1.


Coulomb Apparatus


Coulomb Apparatus demo picture
Coulomb Apparatus demo picture 2

  • Demonstrate 1/r^2 dependence of Coulomb force.
  • For accurate measurements, potential difference between charged
    spheres should be maintained using high-voltage power supply.
  • For less-quantitative measurement, spheres can be charged
    with rod and fur. Charge on sphere can then be measured using proof plane,
    Faraday Ice Pail, and electrometer (right).

Location

  • Coulomb Apparatus: L01, section A2.
  • Proof plane: L01, section A2, plastic bin.
  • Faraday Ice Pail: L01, A2.
  • Electrometer: L01, A1.


Charged Balloons

Charged Balloons demo photo

  • Connect balloons with long piece of string. Attach string to ring stand using a binder clip, as shown above.
  • Rub balloons with fake fur, or on your own head, and balloons will repel each other.

Location

  • Balloons: L01, section A2
  • String: L35, section B1
  • Ring stand: L35, section A4


Electroscope


Electroscope demo photo 2

  • Purpose: Study the nature of electric charge in a qualitative
    fashion.
  • Charging a rod: to create a positivley charged rod rub glass with silk; to create a negatively charged rod rub teflon with fake fur (the blue stuff).
  • To determine the conductivity of an object: Charge the electroscope, then touch the electroscope top (metal sphere) with the object. If the object is an insulator the electroscope will not respond to the touch.
  • Located in L01


Faraday Ice Pail


Faraday Ice Pail demo photo

  • Use the ice pail in conjunction with an electrometer (shown)
    to measure charge and potential difference. Touch the Proof Plane to the point of interest on the charged body, then place the Proof Plane inside the ice pail. The Electrometer reading will be directly proportional to the charge
    on the Proof Plane.
  • Located in L01: proof planes-section A2; electroscope- section
    A1; Ice Pail- section…


Kelvin Water Dropper


Kelvin Water Dropper demo picture

  • Principle: Charge separation by induction.
  • Fill container with water. As water drips through copper
    rings, metal canisters become polarized (to see why, check out this link:
    Kelvin’s Thunderstorm).
    Bend copper arms so that the thin conducting wires (attached to each arm)
    are close together but not touching. After 10 or 20 seconds of drip time touch
    the two conducting wires together using a non-conducting rod (pencil), little
    light bulb should blink at the moment of contact.
  • Tricks to making it work: Make sure base is dry (to keep
    canisters electrically isolated); position copper rings at a location that
    is just below where the water stream breaks apart into droplets; hold a charged object (i.e. charged nylon rod) close to one of the copper rings as the water is dripping to get the charge separtation process started.
  • Located in L01; section A2; covered in plastic bag.