Adding a new demo page is easy.
- First, make sure you’re logged in as an administrator. Just click here: http://demos.swarthmore.edu/physics/wp-admin
This takes you to the “Dashboard”. Looks like the below image.
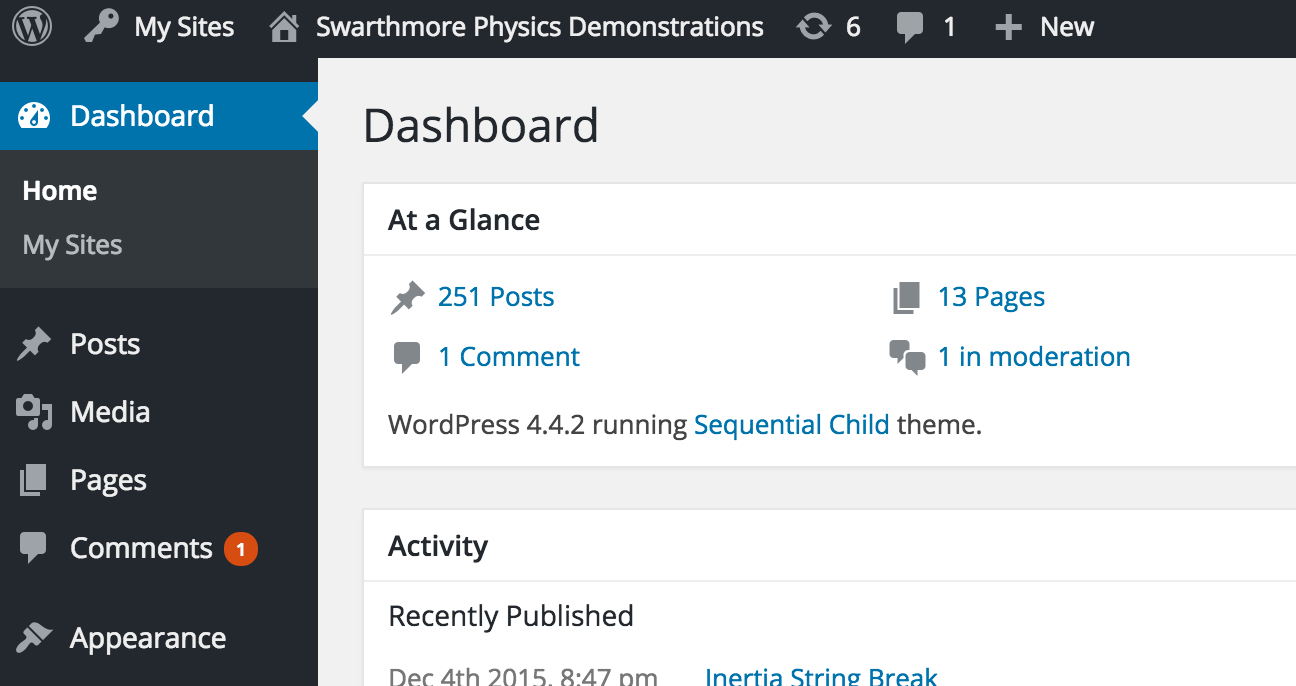
- Go to the “New” dropdown menu, and select “Post”.
- Enter the title of the demo in the “Add New Post” box.

- Attach pictures of the demo by clicking the “Add Media” button.
- In the “Insert Media” page select the desired, previously uploaded, picture. (Instruction for how to upload a picture can be found below.)
- Add a brief description of the demo, including where the demo is stored. (If not sure about storage location, just leave blank. Lab Lecturers will edit.)
- Select “Save Draft”. Underneath “Publish”, in the upper right hand corner.
- In the “Categories” section, check all of the category boxes that you feel apply.
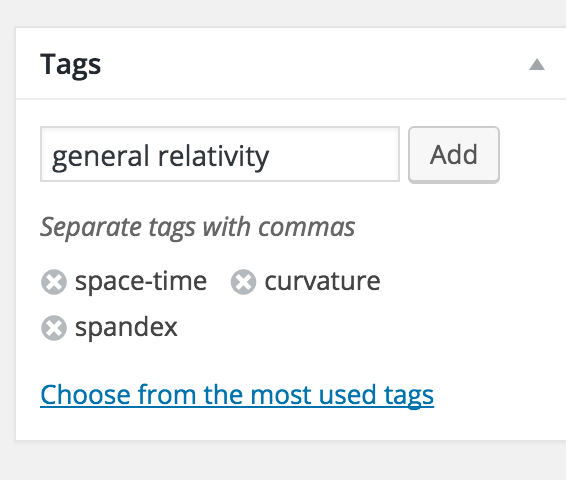
- In the “Tags” menu (see image below) type any words into the box that you think one might use to search for this demo page. The example below is for the space-time curvature demo. Click the “Add” button next to the dialogue box to add the tags.
- Click “Set Featured Image”, below the “Tags” menu. Select a picture of the demo from the media library list and click “Set Featured Image”. This sets the demo’s thumbnail photo.
- Finally, click the “Publish” button (see image below).

And you’re done!
Go to the website main page and search for your new demo to make sure it was published properly.
Adding Media
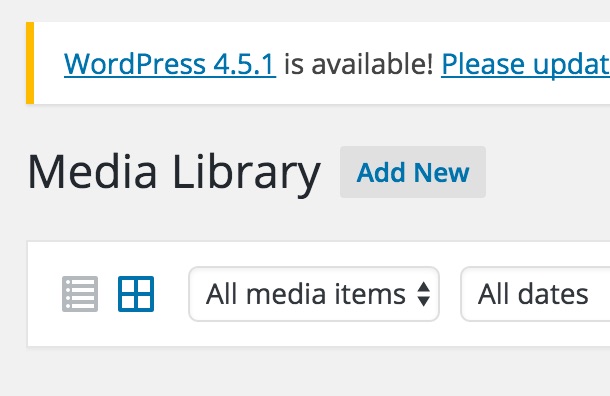
Go to the Dashboard and click on “Media” in the sidebar menu.
Click “Add New”
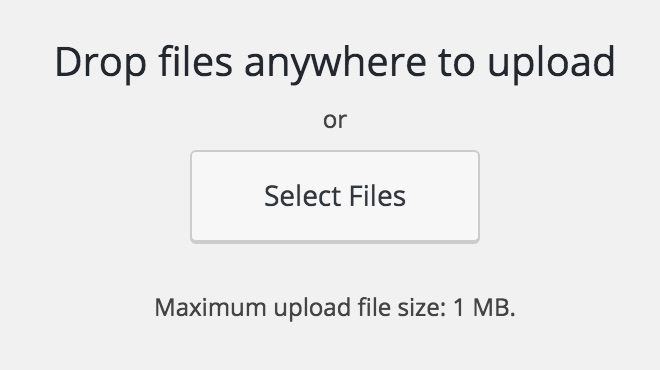
Click “Select Files”, or simply drag and drop the photo onto the indicated box. Picture cannot be larger than 1MB, so, reduce the photo size before attempting to upload.
The picture should then show up in the library.
If you like, name the picture to make it searchable by name.